So, you've caught the embroidery bug. You love running your machine, but you're tired of being limited to designs other people have created. You have your own ideas, a killer logo, or custom artwork you’re dying to stitch out. Welcome to the exciting—and sometimes daunting—world of DIY Embroidery Digitizing. This is the process of turning your digital artwork into a stitch file that your embroidery machine can understand and execute.
Taking the plunge into digitizing yourself is incredibly rewarding. It gives you complete creative freedom and can save you money in the long run. But before you dive in, you need the right tools in your toolbox. This isn’t just about software; it’s about building a foundation of knowledge and having the right hardware to support your new venture. Let’s break down the essential tools you need to start your digitizing journey on the right foot.
The Digital Workshop: Choosing Your Software
This is your most important tool. Your software is your digital workshop where all the magic happens. The market offers a wide range, from beginner-friendly apps to professional-grade powerhouses.
1. Entry-Level & Hobbyist Software
These programs are perfect for getting your feet wet without a massive financial commitment. They often feature simplified interfaces and automated tools.
-
Examples: Embrilliance Essentials, SewArt (auto-digitizing), Brother's PE-Design 11.
-
Pros: Affordable, easier learning curve, great for basic designs and simple lettering.
-
Cons: Limited control and advanced features; auto-digitize functions can produce low-quality, stitch-heavy files.
-
Best For: Hobbyists who want to create simple text-based designs or convert basic shapes.
2. Intermediate & Subscription-Based Software
This category has exploded recently, offering professional-level features for a monthly fee instead of a huge upfront cost. This is the sweet spot for many serious DIYers and small businesses.
-
Examples: Hatch Embroidery by Wilcom, Embrilliance StitchArtist (Levels 2 & 3).
-
Pros: Vastly more powerful than entry-level; offers manual digitizing tools, advanced editing, and realistic stitch previews. The subscription model (like Hatch) makes it accessible.
-
Cons: Subscription costs add up over time. There’s a steeper learning curve.
-
Best For: Those serious about learning proper digitizing and creating high-quality, complex designs without a multi-thousand-dollar investment.
3. Professional-Grade Software
This is the industry standard used by top digitizing services. The power and control are unmatched, but so is the price and complexity.
-
Examples: Wilcom EmbroideryStudio, Pulse Ambassador.
-
Pros: Ultimate control over every stitch, unparalleled editing capabilities, supports a huge range of formats and machines.
-
Cons: Extremely high cost (often thousands of dollars), very steep learning curve.
-
Best For: Dedicated professionals and businesses that digitize for profit.
Recommendation for Beginners: Start with a subscription to a platform like Hatch Embroidery. It gives you access to top-tier tools without the massive initial investment, and its tutorials and community are invaluable for learning.
The Brain Tool: Investing in Knowledge
You can have the best software in the world, but without knowing how to use it, it’s useless. Your most important tool at the start isn't physical—it's knowledge.
-
YouTube University: This is your free goldmine. Search for "[Your Software Name] beginner tutorial." Channels like Amazing Designs (for Hatch) and others offer fantastic walkthroughs on everything from creating simple shapes to mastering complex fills.
-
Online Courses & Webinars: Many software companies and independent educators offer structured courses. These can fast-track your learning by providing a clear path and expert instruction.
-
Practice, Practice, Practice: Start simple. Don’t try to digitize a detailed portrait on day one. Begin with basic shapes—a circle, a square, a star. Stitch out every design you create. This is the single best way to learn. You’ll see firsthand how the decisions you make on screen translate to thread and fabric.
-
Community Forums: Join Facebook groups or online forums dedicated to embroidery digitizing. Being able to ask questions, share your work for feedback, and see how others solve problems is invaluable.
The Hardware Helpers: Your Computer & Machine
You don’t need a supercomputer to digitize, but you do need reliable equipment.
-
Computer: A modern computer with a sufficient amount of RAM (8GB minimum, 16GB recommended) will ensure your software runs smoothly, especially when working with complex designs. A larger monitor is also a huge help for seeing the fine details of your work.
-
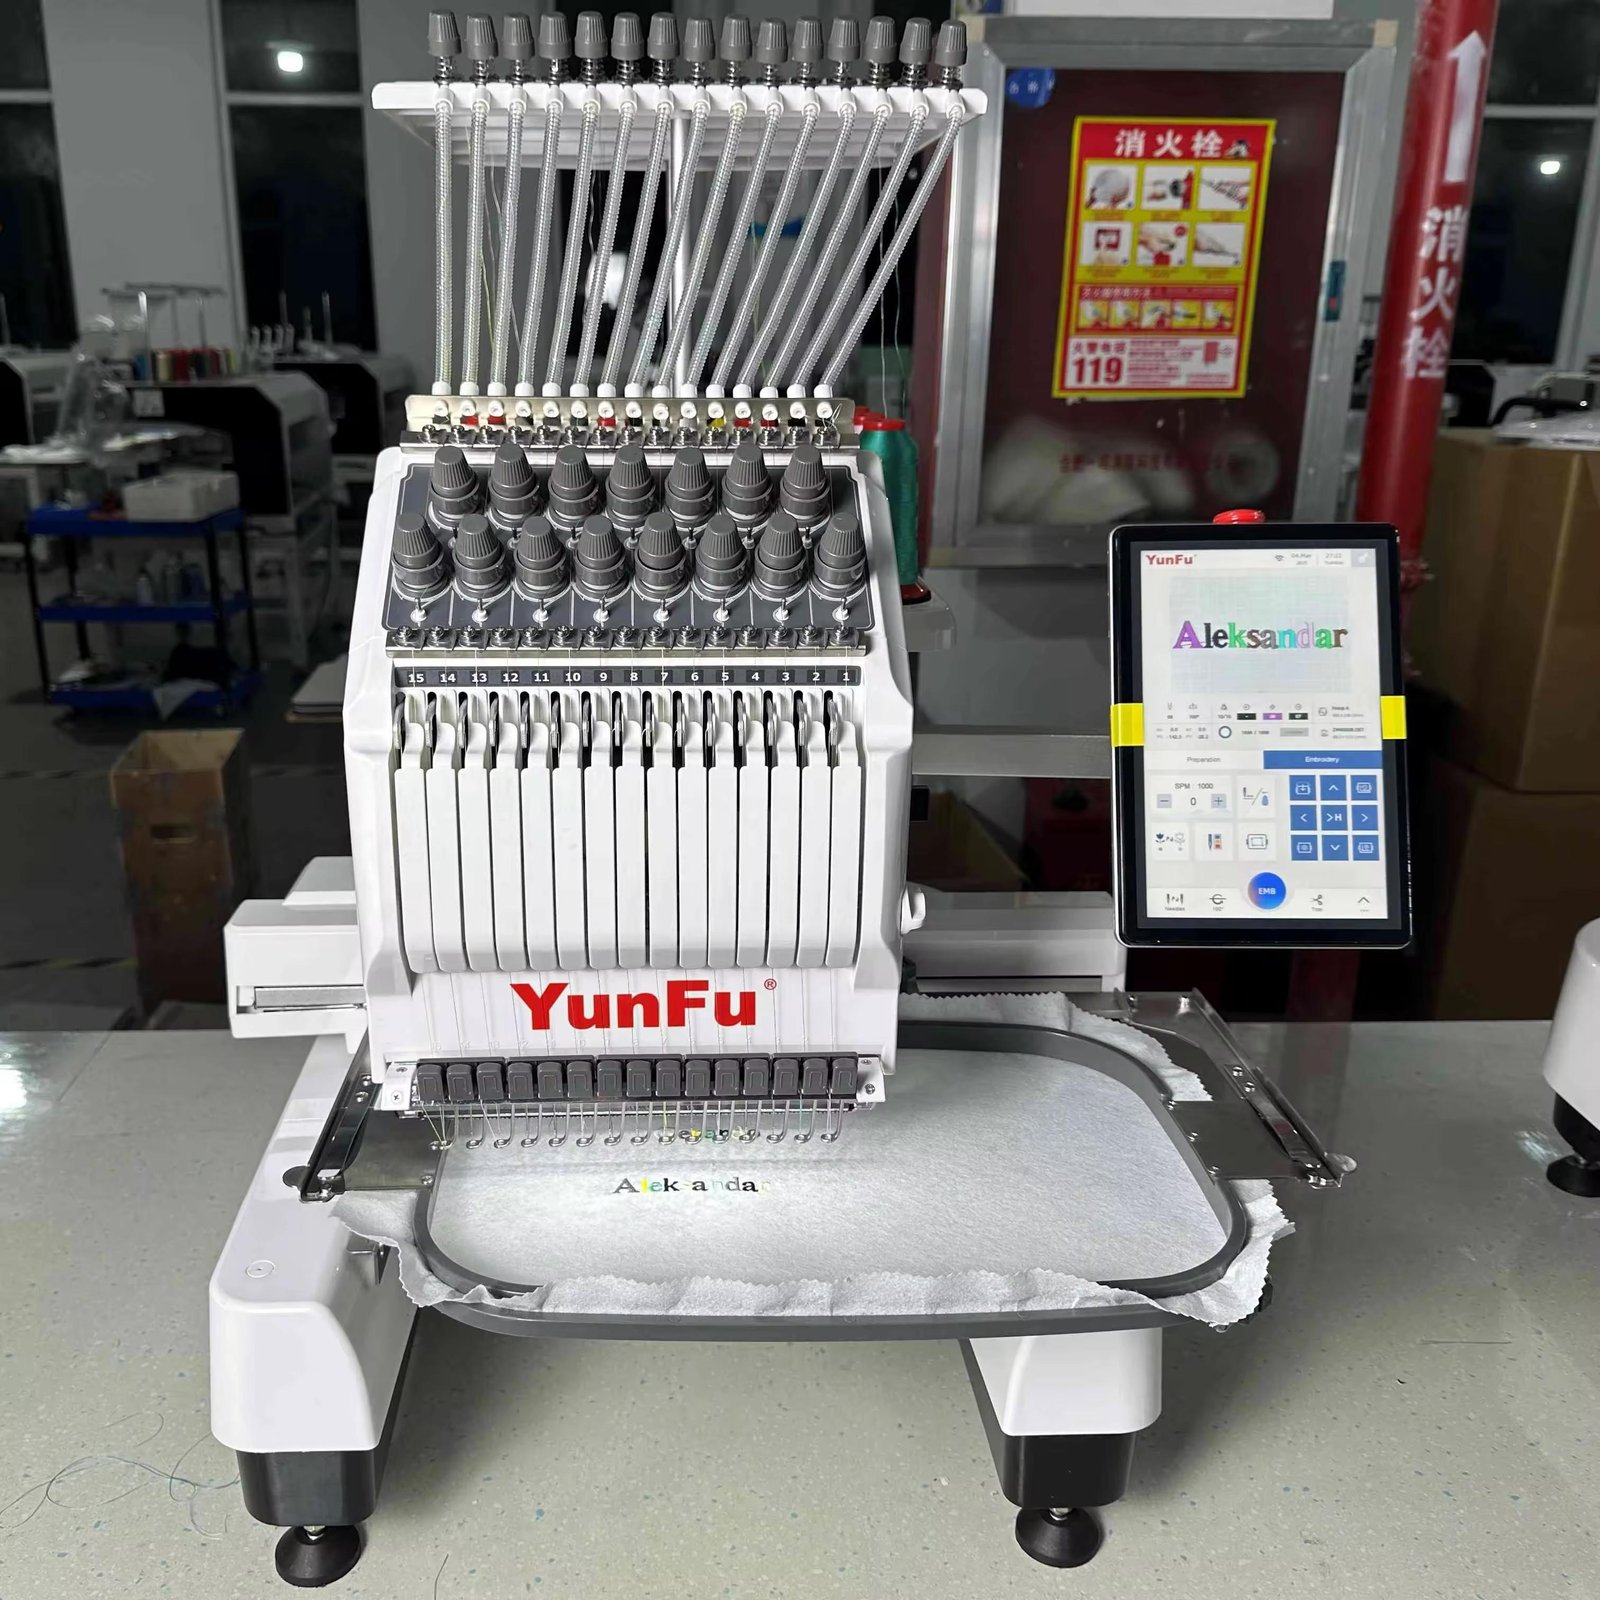
Your Embroidery Machine: This is your quality control lab. You must test every design you create. A design might look perfect on screen but stitch out poorly. Your machine will reveal issues with density, pull compensation, and sequencing. Get to know its quirks.
-
A Good Mouse: Digitizing involves a lot of precise clicking and dragging. A comfortable, accurate mouse will save your wrist and your sanity.
The Testing Ground: Essential Supplies
Your learning will happen as much in your hoop as it does on your screen. Keep a stash of dedicated testing supplies.
-
Scrap Fabric: Use the same type of fabric you plan to embroider on最终. Digitizing for fleece is different than digitizing for twill. Test on the real thing.
-
Cut-Away Stabilizer: When in doubt, use cut-away. It provides the strongest foundation for testing new designs and prevents puckering, giving you a true read on your digitizing’s quality without the variable of unstable fabric.
-
Bobbin Thread: Use pre-wound bobbins or wind your own with quality thread. Consistent tension is key for diagnosing problems.
-
New Needles: Start with a fresh, sharp needle appropriate for your fabric. A dull needle can cause thread breaks and poor stitch quality, which you might mistakenly blame on your digitizing.
The Mindset: Patience and a Critical Eye
Your final and most crucial tools are patience and a critical eye.
-
Embrace the Learning Curve: You will create bad designs. You will have stitch-outs that fail. This is not failure; it's data. Every misstep teaches you what not to do next time.
-
Learn to Analyze Your Work: When a design stitches poorly, don’t just trash it. Figure out why.
-
Is it puckering? The density is too high or you lack proper underlay.
-
Are the lines distorted? You need pull compensation.
-
Is the fill uneven? The stitch angle or pattern might be wrong.
-
-
Start by Copying (For Practice!): Find a simple design you like and try to recreate it from scratch in your software. This teaches you how to deconstruct a design into its core stitch elements.
Conclusion: Unleash Your Creativity
Embarking on DIY embroidery digitizing is like learning to cook. At first, you follow recipes closely (tutorials). Then, you start to understand how flavors work together (how stitches interact). Eventually, you’re creating your own gourmet meals (complex, beautiful designs) from scratch.
The tools you need are within reach: capable software, a thirst for knowledge, your trusty machine, and a whole lot of patience. By investing in these areas, you’re not just buying programs and supplies; you’re investing in a skill that unlocks limitless creative potential. You’ll never look at a blank garment the same way again. Now, fire up that software, start with a simple circle, and get ready to make something truly your own.


